Behind the Glass – Templates – Part 3
I’m continuing on today with some of my processes and workflows when I’m working in my studio. The last two parts detailed the things that are in my template so today I want to look at getting my clients’ audio into a new session.
Once I have a new session created from my template, my next step is to import all of the audio. If I have .wav files, I’ll just drag ’em in at the bottom of the session or if I have a Pro Tools session I’ll import the tracks. A lot of guys working in Pro Tools will import their template into the session they get with all the tracks, but I don’t do that. There are some preferences I’m pretty particular about like crossfades and track coloring that are not Pro Tools default settings, and those preferences save with the session. It would drive me crazy if I had to constantly keep fixing those so I bring stuff into my session instead. This goes back to my approach in general where my Pro Tools template is my console so now I’m putting up the tracks on my console in a way that is familiar to me.
While I’m doing this I have my Metric AB plugin open, and I always put on a reference track. The track is leveled to where I want to hit things on my Dorrough, and my monitor level is set comfortably about where I’m going to mix at. This isn’t a mix reference for the project I’m working on, though. It’s simply a reference track for me to recalibrate my ears to my monitors, and it does a couple things. For starters, it gives me a tonal balance center. I don’t listen hard to this. I just have it on in the background while I’m setting things up so my ears adjust to what they should chase. The other thing it does for me is give me a sense of how loud I’m going to mix in order to hit my mix buss the way I want to.
I feel like a lot of mix engineers today aren’t particularly worried about levels the way we once were because the floating point technology in modern DAW’s makes it nearly impossible to clip internally and you can always pull your final output down later so you have .1 dB of headroom. The problem, though, is if you are doing anything broadcast related there are specific delivery specs you have to mix to. And when you miss the specs, they don’t fix it at the delivery point. They just kick it back.
Since I do a variety of work in my studio from post to music production, it’s essential for me to have everything calibrated so I can deliver things at the right level with little to no extra work. If I have to sit around and figure out how many dB off I am from some delivery spec, I start to bug out a little. I just want to listen and mix so it’s important for me to minimize the technical stuff as much as possible while I’m actually mixing. This is why I have my main monitors calibrated for a specific SPL level when my meters are ready a specific way. It takes the tech out of things a bit, and I never run out of headroom this way.
But I’m getting off track….
Once the audio files are imported, I sort them into an order that’s familiar to me at the bottom of the session. Sometimes I might re-label things a bit here as well so things make sense to me. Pro Tools recently added some helpful batch naming functions, and I’ve been finding these very helpful for this.

Next I’ll start loading my track presets on each input. This is another great feature Pro Tools added a few versions back, and it’s a huge time saver for me now. Each of my track presets has the routing, FX sends, color-coding, grouping, and plug-ins I regularly use already inserted and deactivated.
Plug-ins are typically zero’ed out with the exception of some high-pass filters inserted, and the FX sends are all usually down. It’s basically like having an assistant go through and patch all the stuff I would like to potentially use on stuff. Then if it turns out I want to use something I just pop the insert in by activating a plug-in and it’s running. If I want to add an effect, I activate the send and push up the level to taste.
After my track presets are in, I’ll drag my tracks into place within my session so my console is organized in an order that’s familiar to me. That order is already established to a certain degree because of the way my template is put together. Some mix engineers rely on their assistants for this kind of mix prep work, but I can usually get everything in and a session ready for mixing in 10-20 minutes provided the audio I get was properly named.
Things are a little different when I’m working on material for a regular client especially when it comes to broadcast related live music mixing. In these cases, I use a client specific template built from a previous project. This contains all of the normal stuff from my template along with empty audio tracks featuring inserted and pre-dialed plug-ins. This is important because with a lot of these types of projects, the turnaround time is pretty quick.
For example, I typically aim for a song a day when I’m working on a typical recording project. With a broadcast type project I might be mixing 3-5 songs in a day, though, and then I need to master everything on top of that. So starting with a more specific template puts me more in the ballpark right from the start so I’m not reinventing the wheel any more than I need to.

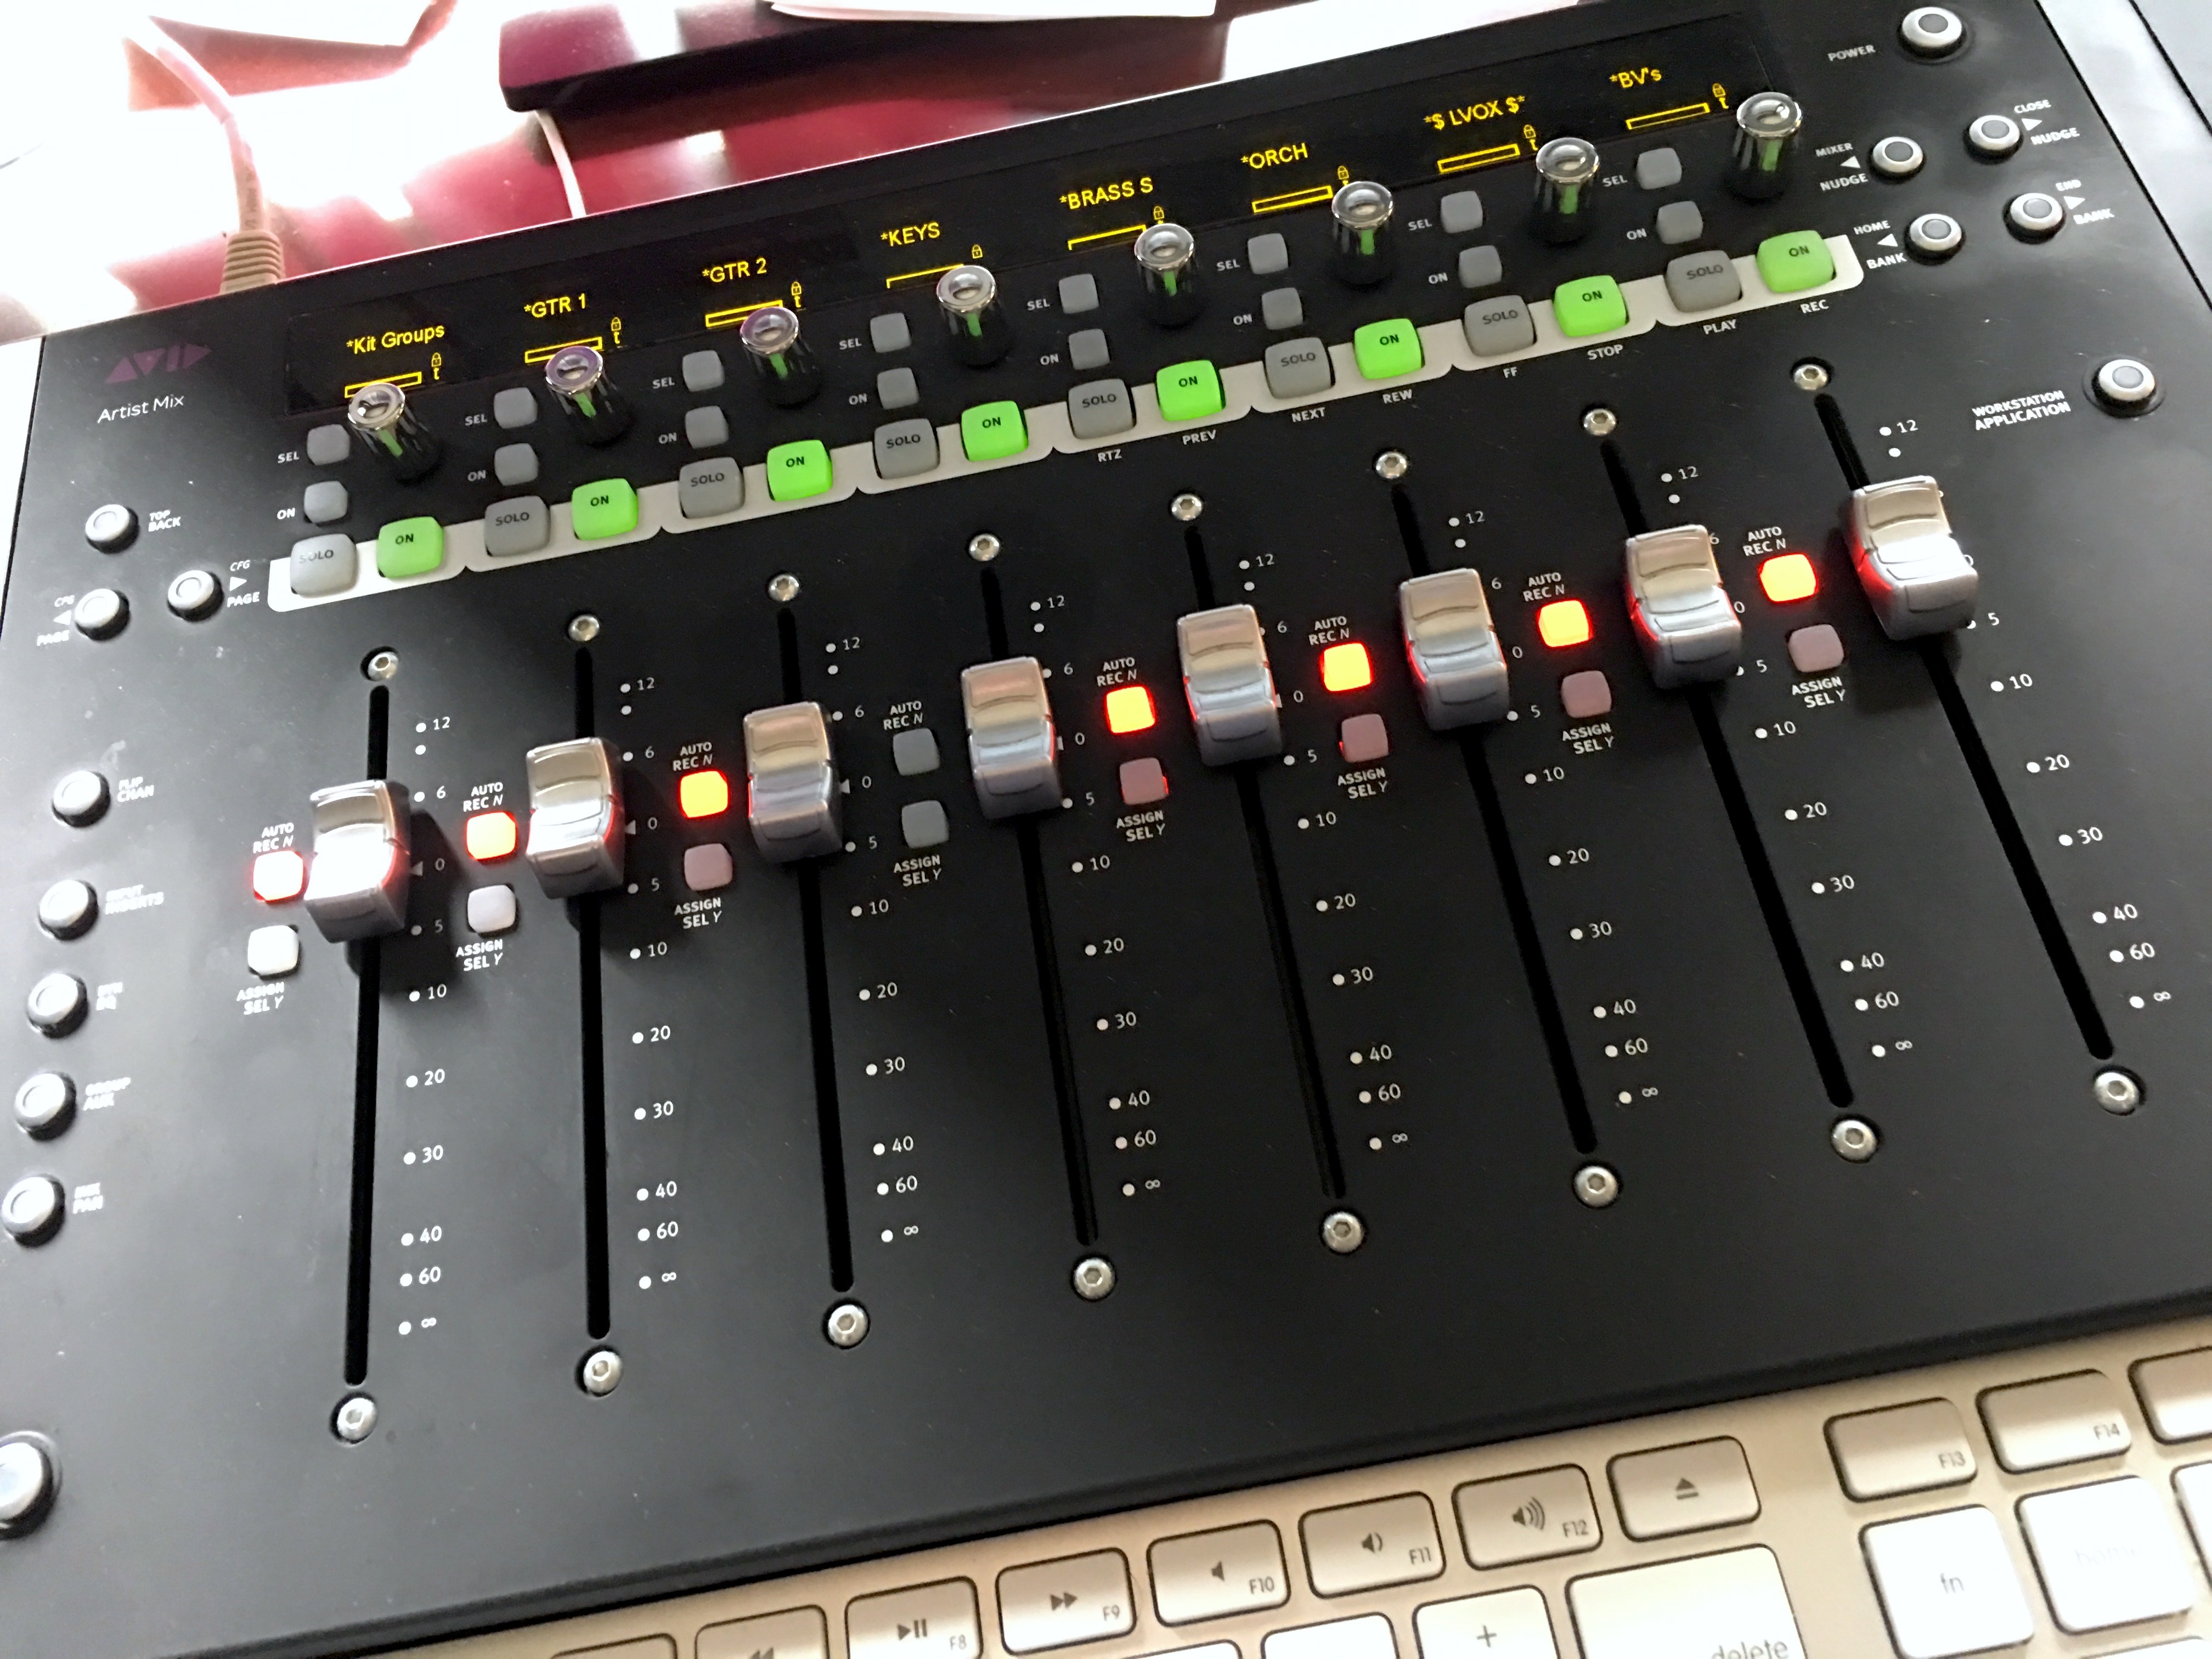
My goal with these is to get a baseline balance together as fast as I can, and then get into automation mode where I can drive faders just like I would if I was mixing FOH. I actually have a small, 8 fader control surface in my studio I rely on for this. The difference in the studio, though, is I get to rewind whenever I want to take another pass at a fader move. Although, again, I can’t dwell on this stuff too long because time is short. So it’s about chasing the big wins and trying not to get dragged into a black hole of tweaking.
I think that’s it on my templates. Do you have any questions about any of this? What else would you like to know about mixing in the studio vs. mixing live at FOH? Let me know in the comments.
 Previous Post
 Next Post


